Setting up a dedicated charging station for your devices can simplify your daily routine and keep your space neat. Whether you have smartphones, tablets, smartwatches, or other gadgets, a well-organized charging area saves time and eliminates clutter from scattered cables and adapters. In this post, we’ll walk you through how to create an efficient and practical charging station right at home.
Why You Need a Charging Station
With multiple devices needing power every day, cables can quickly become tangled, and devices may be misplaced or left uncharged. A charging station helps you:
– Keep all your devices in one place
– Avoid cable clutter
– Ensure devices are charged and ready to use
– Protect devices from damage by organizing them safely
Step 1: Choose the Right Location
Start by picking a convenient spot for your charging station. Consider these factors:
– Accessibility: Pick a place everyone in the household can easily reach, such as a living room corner or kitchen countertop.
– Power outlets: Ensure there are enough electrical outlets nearby to plug in your chargers. You might need a power strip or extension cord.
– Safety: Avoid areas near water or places where cords could get tripped over.
Step 2: Select Your Charging Equipment
Choose the right chargers based on the devices you want to include. Here are some options:
– USB charging hub: These hubs have multiple USB ports allowing you to charge several devices from one power source.
– Wireless chargers: Ideal for compatible smartphones, wireless chargers reduce cable use. Some models can charge phones and earbuds simultaneously.
– Multi-device charging stations: Designed to hold and charge various devices with built-in slots and chargers.
Tip: Look for chargers with built-in surge protection and safety certifications to protect your devices.
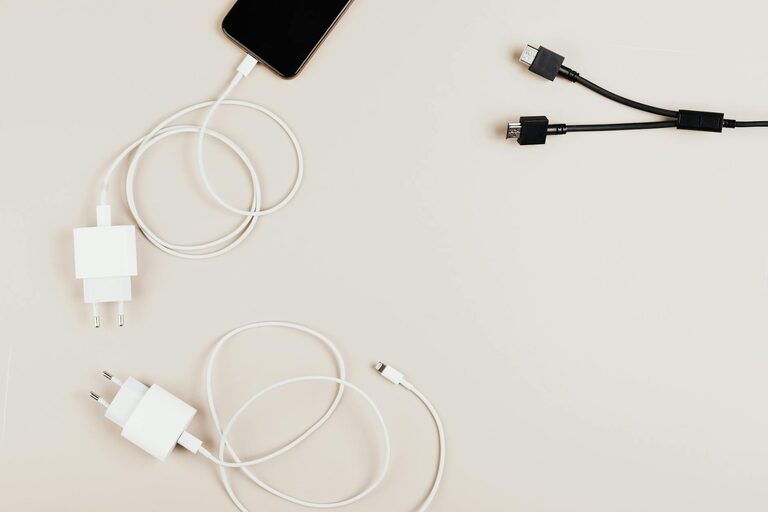
Step 3: Organize Cables and Chargers
Managing cables is key to a tidy charging station. Here’s how to keep them under control:
– Use cable clips or ties to bundle cords neatly.
– Cable organizers or sleeves can help conceal and manage multiple wires.
– Label your cords if you have many similar-looking cables to quickly identify which cable belongs to which device.
– Consider a charging station with built-in cable management features for a cleaner look.
Step 4: Arrange Your Devices
Organize your devices in a way that maximizes space and protects gadgets:
– Use a small tray, bin, or shelf to keep devices stationary while charging.
– For smartphones and tablets, a stand or dock can keep screens visible and the station uncluttered.
– Keep charging devices separate to avoid overheating.
Step 5: Add Personal Touches and Extras
Make your charging station more functional and pleasant with these ideas:
– Include a small lamp or light strip for visibility, especially in dim areas.
– Add a small clock or calendar to integrate your station into your daily routine.
– Keep extra charging cables or adapters in a small container for guests or future devices.
– Use decorative elements like plants or artwork to blend the station into your décor.
Maintenance Tips for Your Charging Station
To keep things running smoothly:
– Regularly check cables and chargers for wear and replace damaged ones.
– Clean the station to remove dust and debris.
– Unplug chargers when not in use to save energy and extend their life.
Final Thoughts
Setting up a charging station is a simple project that pays off with improved organization and convenience. By choosing the right location, equipment, and thoughtful organization techniques, your devices will stay charged and your space clutter-free. Try out these steps today and enjoy a more efficient way to power up your tech!
—
Do you have a charging station setup at home? Share your tips in the comments below!